The defects module is where you store your bugs which are found when you are testing. Here we will describe how to log in a defect, how to use the defects assigned to a column, how to search for a defect, how to relate defects to each other, adding or removing defect columns on the defect grid, and how to use favorites option.
How to Log a Defect in Quality Center
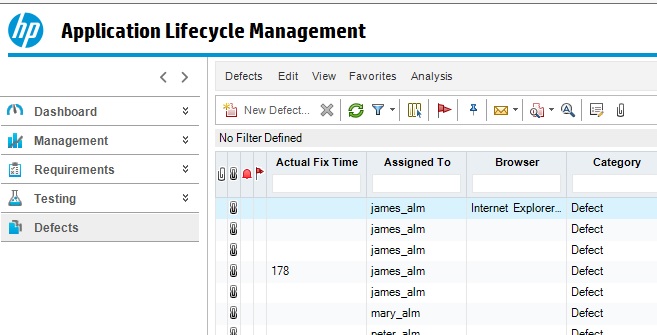
First, click on the Defects button on the left toolbar. You should see a grid with a list of all defects currently logged.
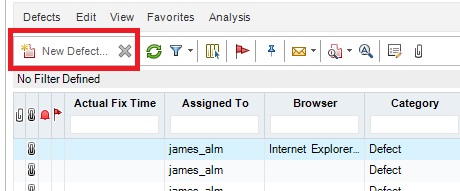
Next, Click on the new defect button. This will trigger a popup that will lead you to fill in the defect details.
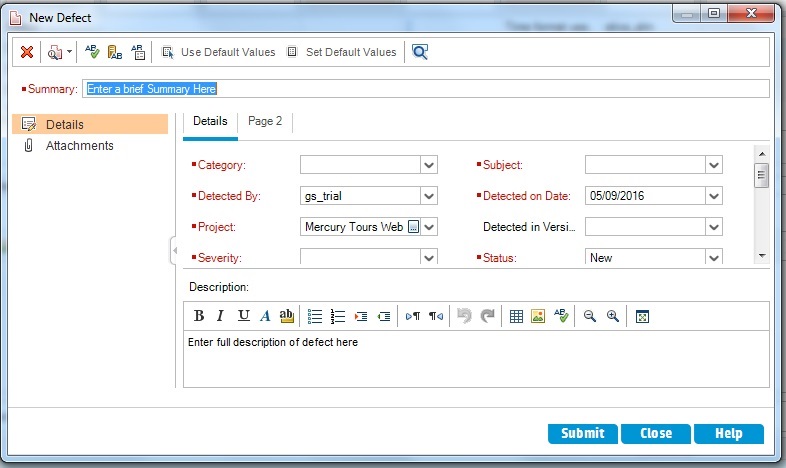
Next is where we fill in the defect detail. Note everything in red is mandatory and it must be filled. The description on the bottom is where you describe the defect in detail.
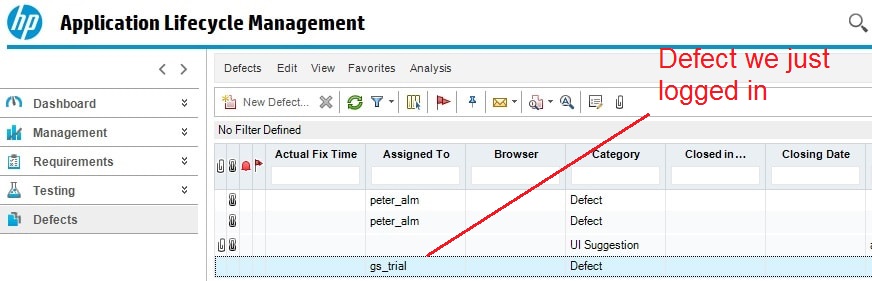
After you have hit submit button you can see your defect in the grid below.
See Defects Assigned To Column
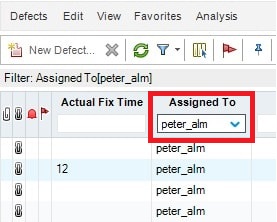
You may not want to see every defect and only see what is assigned to you. To do this click on the “Assigned To” column and type in your username. Below we will see who is assigned to “peter_alm”
How to Search for a Defect
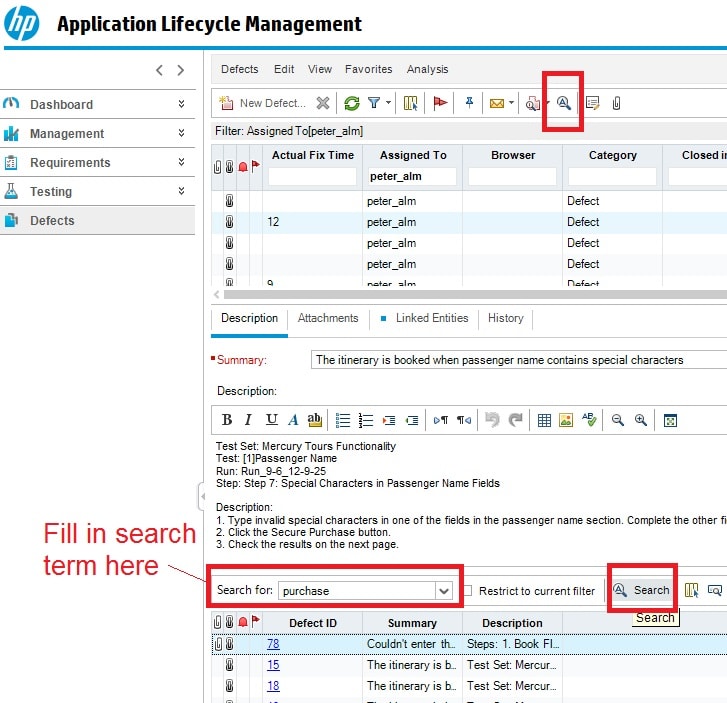
HP ALM gives you the ability to search for a defect. First, you need to click the search with the magnifying glass then the search screen will appear. Then type the phrase you want to search. In this example, I will search “purchase” and all the items with purchase will appear.
How to Relate two Defects to Each Other
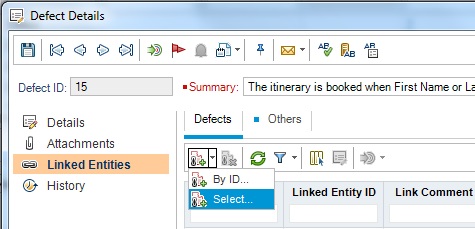
Defects need to be related to each other. For example, suppose a duplicate defect was created and you wanted to relate one defect to the duplicated defect. To do this right click on one of the defects you want to relate and click on defect details. Next, click on linked entities and make sure the defect tab is selected. Finally, you can then relate the defects together.
When the defects are linked you will see the defect summary and linked entity id filled
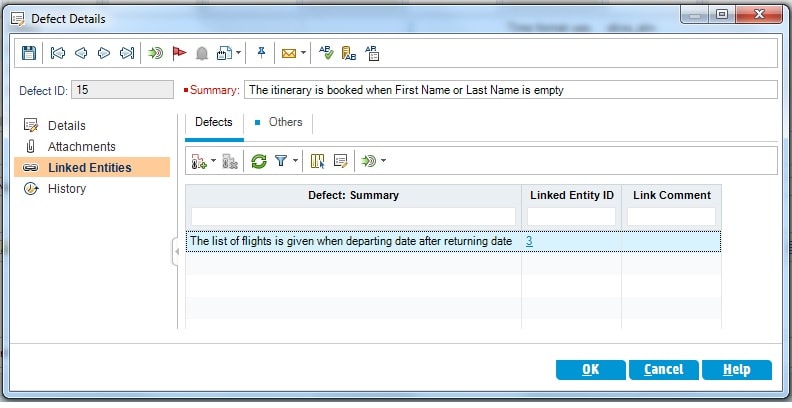
You can also link defects to a requirement by clicking the other tab.

Adding or Removing Defect Column on the Defects Grid
You may want to change the look and feel of your defect grid screen. To do this click on the column button and customize your view.
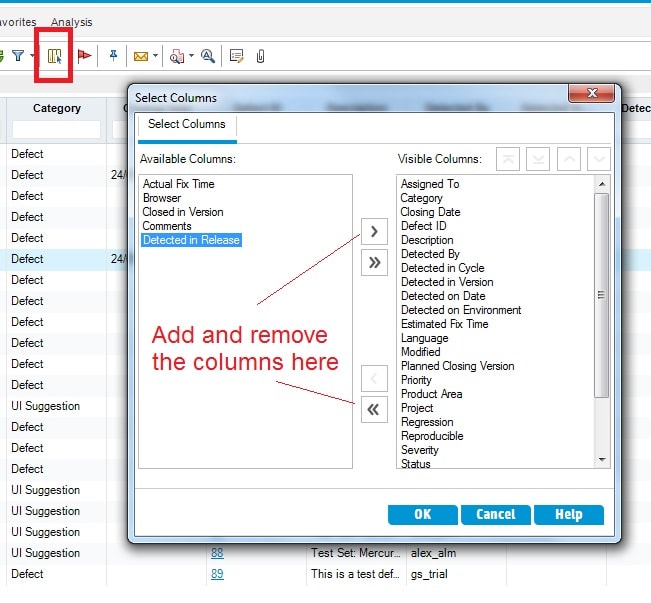
After you click ok, you will notice the columns have been added or removed.
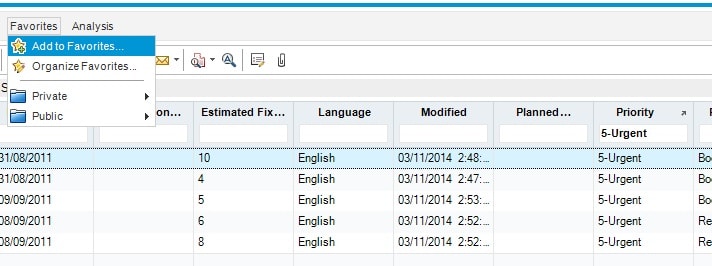
Favorites Menu
When you customize the view you can store it in your favorites menu. For example, suppose you wanted a view that had only defects assigned to you, or perhaps you want to see only defects that are critical.
Notice you can save your favorite view to public or private. If you save it as public, others who log in can see the view you created.
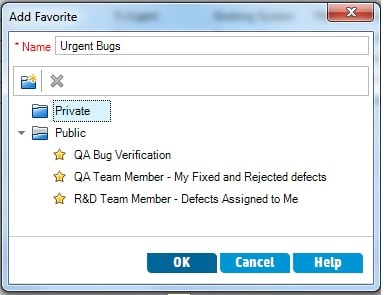
Note the view private view urgent bugs appears.