Every story or requirement should have a matching test case to demonstrate test coverage. Zephyr will allow you to create and view coverage using a traceability report. In this post, we will discuss how to create a traceability report with Zephyr.
Zephyr Traceability Report
Step 1: View Stories in Current Sprint
In this sample sprint, we have 3 stories that all need test cases. So what we will need to do is create three test cases for each story. Note I have already created my test cases but you may want to review how to create test cases in Zephyr.

Step 2: Search for Tests
Next, find the test case that you want to link to the appropriate story. In this example, I am going to link Book a Car test case to Book a Car story. 
Searching for test Cases to Link to Stories
Step 3: Open Test Case
Step 4: Link Test Case to the Story
Next, we will open the test case and link it to a story. Here we are going to link, “Book a Car” test to “Book a Car” story.

Once you have linked your first test case to a story try to link the rest of your test cases to the remaining stories in the current sprint.
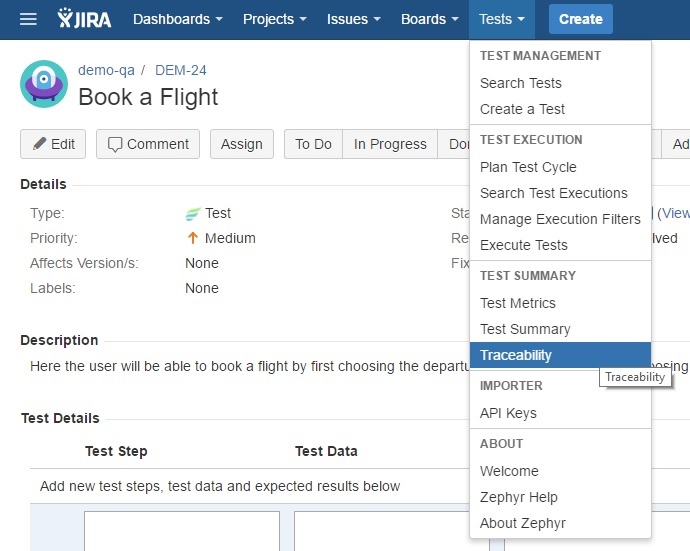
Step 5: View Traceability Report
To view the report click on Tests and select Traceability.

Step 6: Enter Report Parameters
Now we will search for all the test cases in Version 2 which is the current sprint. Note I needed to make sure all the stories are linked to Version 2.0.

Step 7: Generate Report
Select the stories and click on the Generate button to create the report.

Step 8: View Results

Finally, note that you can also link test cases to defects which will be generated in the traceability report.
